Adding Cloud Accounts
A cloud account represents your specific account within a cloud provider platform (AWS Account, GCP Project, or Azure Subscription). You can authenticate these accounts using either existing shared credentials or account-specific credentials.
Prerequisites
- An active CloudPie project
- User with roles with permissions to create Cloud Cloud Accounts.
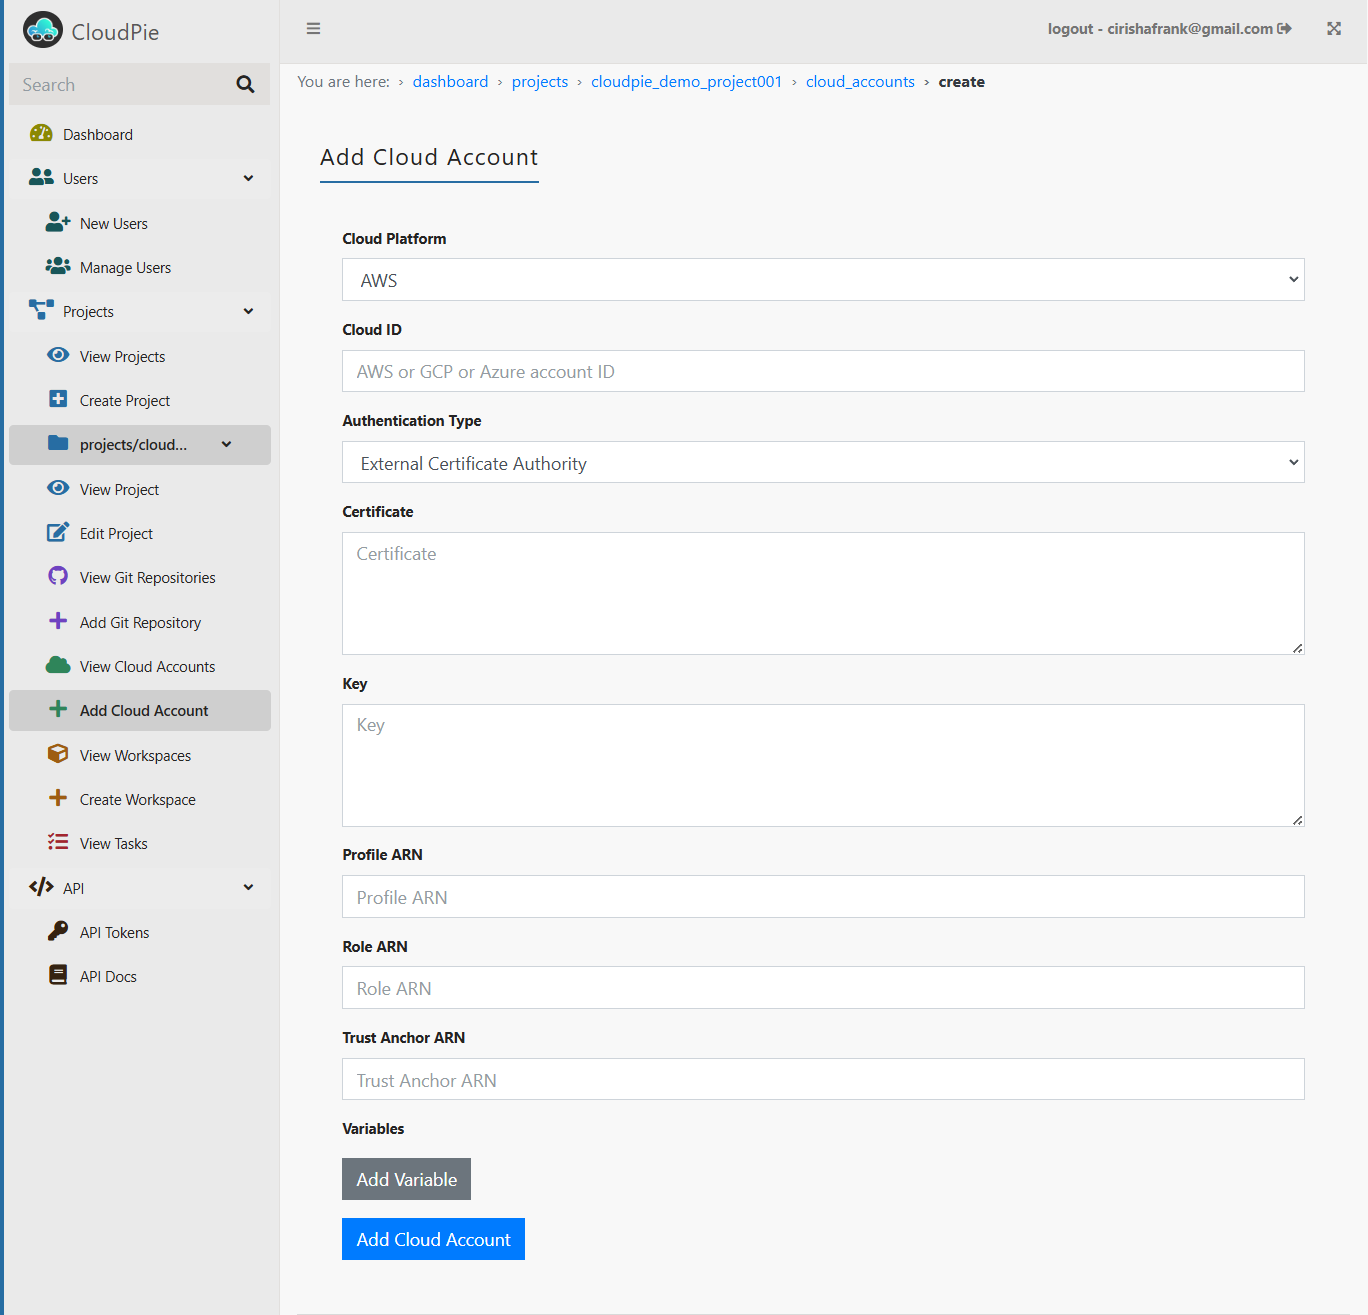
Step-by-Step Guide
- Access the Project:
- Navigate to the Dashboard and select your project
-
Locate the "Add Cloud Account" menu in the sidebar
-
Fill Out the Account Details:
- Select the Cloud Platform: Choose from:
- AWS: Example account ID:
123456789012 - GCP: Example project ID:
my-project-123456 - Azure: Example subscription ID:
11111111-2222-3333-4444-555555555555
- AWS: Example account ID:
-
Specify the Cloud Account ID for your chosen platform
-
Choose Authentication Method: You have two options for authentication:
### Option 1: Use Existing Credentials - Select "Use Existing Credentials" - Choose from available credentials in the dropdown lookup
### Option 2: Create Account-Specific Credentials - Select "Provide New Credentials" - Choose the authentication type - Provide the required credential details - These credentials will be used only for this cloud account
- Add Variables and Secrets (Optional):
- Add custom variables and secrets for Terraform workspace injection
-
Secrets are encrypted and decrypted just-in-time during runs
-
Submit:
- Review all details
- Click Submit to create the cloud account
Important Notes
- Account-specific credentials work the same way as shared credentials but are only available to this cloud account
- The authentication requirements are identical for both credential types
- You can switch between credential types later by editing the cloud account